
Garage and Closet Organization for Outdoor Cooking Gear: A System That Stays Tidy

Stop digging through totes. A simple home organization system for outdoor cooking gear: one home per item, grouping by use, and off-season storage.
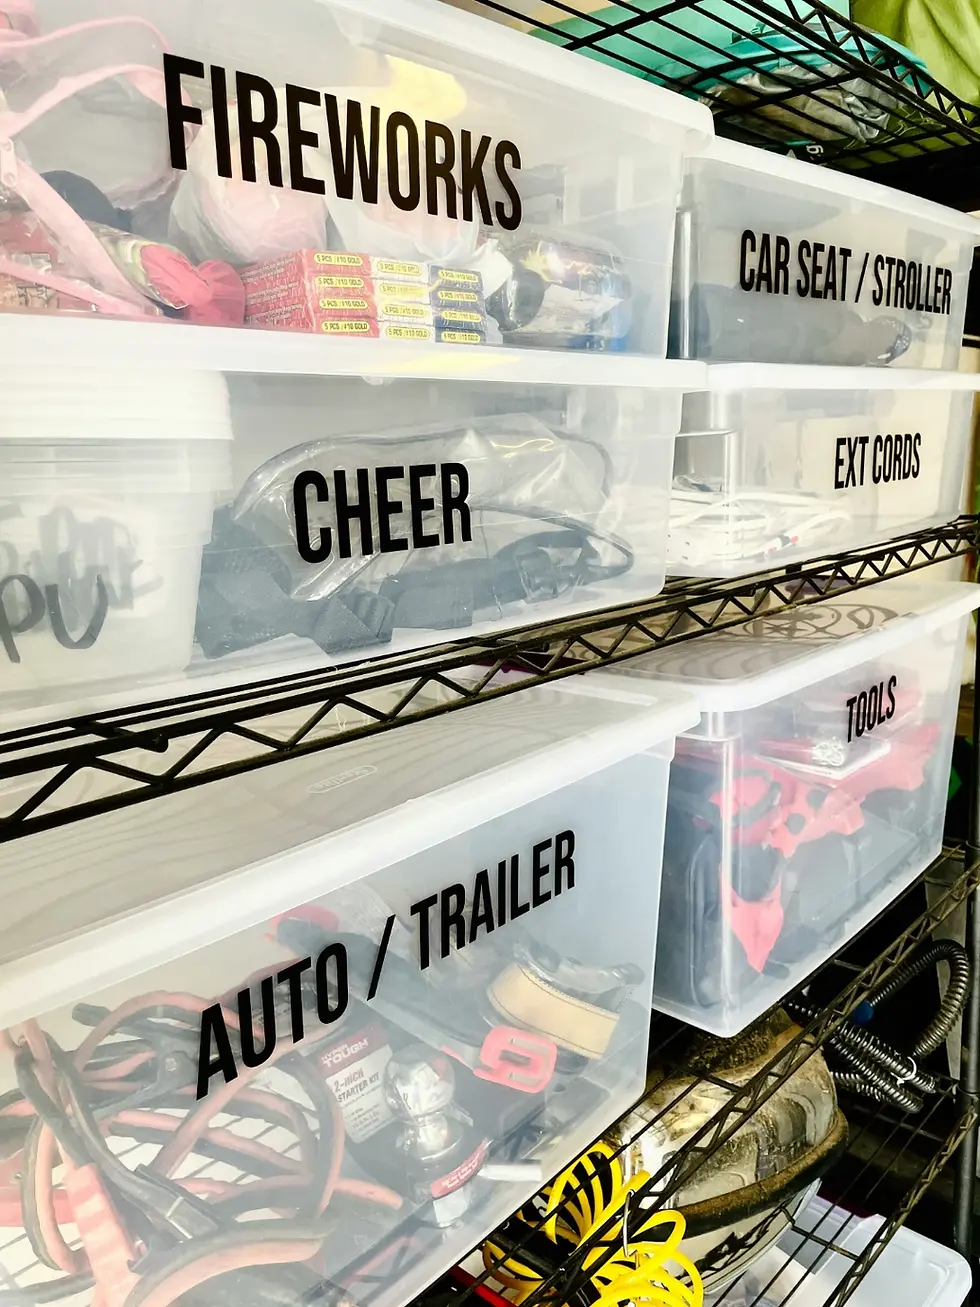
Outdoor cooking gear has a way of taking over a home. A stove ends up in the garage, the cooler in the basement, utensils in a tote in the hall closet, and the lantern in a place nobody remembers. By the third trip of the season, packing the car feels like a 45-minute scavenger hunt, and half the gear is duplicated because nobody could find the originals.
The fix isn’t a bigger shelf. It’s a storage system. These principles, borrowed from professional organizers and restaurant kitchens, keep outdoor cooking gear tidy at home and ready to go.
Why Gear Storage Falls Apart
The one big tote. Everything goes into a 30-gallon bin. By the third trip, finding the salt means unpacking forty items.
Identical opaque bins. Three matching totes, and you open all three every time.
Drifting items. Anything without a set home migrates, and you lose track of what you own.
Rushed unpacking. Wet gear goes into dry bins after a trip, and mildew follows.
Scattered storage. Pieces of the “kitchen” live in three different rooms.
Principle 1: One Home Per Item
Every item gets a single permanent spot. The pot lives here. The spatula lives there. When it comes out, it goes back to the same place. After a few rounds, the habit becomes automatic, and anyone in the household can find anything in seconds.
Principle 2: Group by Use, Not by Type
Sorting all utensils together and all dishes together feels organized, but it isn’t. Making morning coffee takes a kettle, a mug, coffee, a spoon, and a light, which means five different bins.
Group by task instead: a coffee kit, a dinner kit, and a cleanup kit. Grab one zone for one job. It’s the same logic behind a well-designed home kitchen, where the coffee station has everything in one place.
Principle 3: Visible Beats Hidden
Clear bins, mesh pouches, and open shelving win. Gear you can see gets used, and gear buried at the bottom gets forgotten or bought twice. When you reset after a trip, move anything you didn’t use to the top so you notice it next time, or decide it no longer needs a spot.
Principle 4: Consolidate Into One Container
The single biggest upgrade is moving from several totes to one case:
Inventory is automatic. An empty slot means a missing item.
Loading takes one trip. One case goes to the car.
Storage is one decision. One shelf, one spot, and everyone knows where it is.
This is the main appeal of an all-in-one camp kitchen: 30+ items come pre-organized in a single weatherproof case, so the storage system is built in on day one instead of developing over years of trial and error. On a garage shelf, it takes up about as much room as a large toolbox.
The Four Levels of Storage
The main case. A chuck box, a hard case, or an all-in-one kitchen. It should be weatherproof and sized for both your shelf and your vehicle.
Zones inside it. Cooking, prep, cleanup, and dry goods.
Pouches. A spice pouch, a knife roll, and a coffee bag keep small items from migrating.
Single-item spots. A clip for the spatula, a sheath for the knife, a pocket for the lighter.
Most people stop at levels 1 and 2. Levels 3 and 4 are where a system becomes truly organized.
Organizing Products That Work
Magnetic spice tins that stick inside a metal lid
Knife rolls ($15–$25) for safe, compact knife storage
Mesh bags for dishes and utensil sets, so you can see what’s inside
Hard-sided egg holders
Carabiners on the lid for tongs, the spatula, and a towel
Small squeeze bottles instead of bulky oil and sauce bottles
Painter’s tape labels that are easy to redo when the system changes
Vacuum-seal bags for seasonal extras like sunscreen and bug spray
Choosing the Right Spot at Home
Pick a place with stable temperatures. Garages get hot in summer and freeze in winter, which ages plastic and rubber seals. An interior closet, a basement shelf, or an insulated garage cabinet is better.
Keep the kitchen case near the door you load the car from, and store the cooler and folding chairs in the same zone. One “outdoor corner” beats three scattered spots.
Before and After Every Trip
Before (10 minutes): Open the case, check every slot, refill oil, soap, and paper towels, and add anything specific to this trip’s menu.
After (15 minutes): Wipe the case interior, dry anything damp, restock, note anything that needs replacing, and return the case to its home spot. This reset is what keeps the system working.
Off-Season Storage
Empty any water tank completely.
Remove batteries from lights and faucet pumps.
Store the case fully dry, and crack the lid if the room is humid.
Keep Editing the System
Every six months, ask about each item: “Did we use this on the last three trips?” If not, it goes. The kit gets lighter, and the items that stay get better spots.
Final Thoughts
An organized home for outdoor gear doesn’t come from the most expensive container. It comes from a few simple habits: one home per item, grouping by use, keeping things visible, and consolidating into one case. Set it up once and reset it after each trip, and getting out the door becomes the easy part.


Comments